Also referred to as offset printing, litho printing is an age-old printing technique that today delivers cost-effective large-batch jobs with superb colour and image quality across a wide range of materials from thin paper to thicker boards. With copiers being so prevalent in offices the general feeling is that print is really a ‘plug and play’ environment however nothing is further from the truth. It is very scientific and involves many processes that are not seen. Here is a small guide to some of the aspects of printing which we hope will help you understand the workings behind the scenes.
Litho Offset Printing
Lithography – the forerunner of modern-day litho printing – was developed in the late 1790s in Germany when playwright Alois Senefelder discovered that he “could duplicate his scripts by writing them in greasy crayon on slabs of limestone and then printing them with rolled-on ink”. His theory started with the fact that oil and water don’t mix. An image was drawn using a greasy, fatty or wax substance onto smooth limestone that acted like a flat surface or in todays terms a ‘printing plate’. Today, the theory of oil and water not mixing is still used but much more advanced technologies are used that control every minute detail of the printing process. Ink and water is applied to the litho press rollers, the image etched onto the plate transfers to an intermediary cylinder and then to the sheet(that is why it is called offset printing)where only the ink then adheres to the imaged areas. Water from the rollers repel the non-imaged areas from adhering to ink. As the sheet of paper passes through the press, each colour is transferred onto the sheet one after the other forming the final full colour image, with unrivalled precision.
Why use Litho Printing?
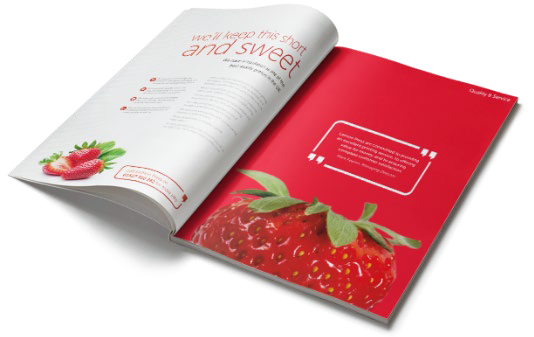
There are very specific advantages to litho printing, including that you can print on a variety of materials, including specialty papers, heavy paper stock and cardboard. Litho is also more cost-effective than digital printing when printing large runs as unit costs drop significantly, and presses run at high speeds making large runs easy and quick. The superior quality of visuals and colour that a litho press can deliver are excellent. This makes it a favourite for printing luxury magazines, books and catalogues, coffee table books, and any other material that requires sharp, vibrant, highly detailed imagery. In addition, litho presses can also accommodate a wide variety of job sizes, so you can print anything from business cards to large promotional posters and anything in-between with high end quality and precision. There are also a number of value-add finishes you can choose from, including the type of Binding, Scoring, Die-cutting, Spot Uv Varnish, Foiling, Embossing, Debossing, laminating, and PUR or Perfect Binding.
So where does all good Print begin?
Good Print Design
It all starts with well thought-through, balanced design. This is normally done using Graphic Designers that have experience using programs such as Adobe InDesign, Photoshop and Adobe Illustrator. These qualified Graphic Designers know how to attract attention, incorporate any CI guidelines, and portray the look and feel the Company or Publication needs. Their knowledge and skill in balancing space, text, graphics and photos, increase the value of any printed piece. They also have knowledge on how to prepare files for printing. Items such as colour (CMYK and spot), size, bleed, resolution of graphics or photos, using master pages to ensure page numbers and common elements are in the same place on each page, etc. Printers usually want a final PDF in a compatible IX-A format. Never underestimate the value of a good designer. They are there to make you and your product or service look good.
Files sent for Printing
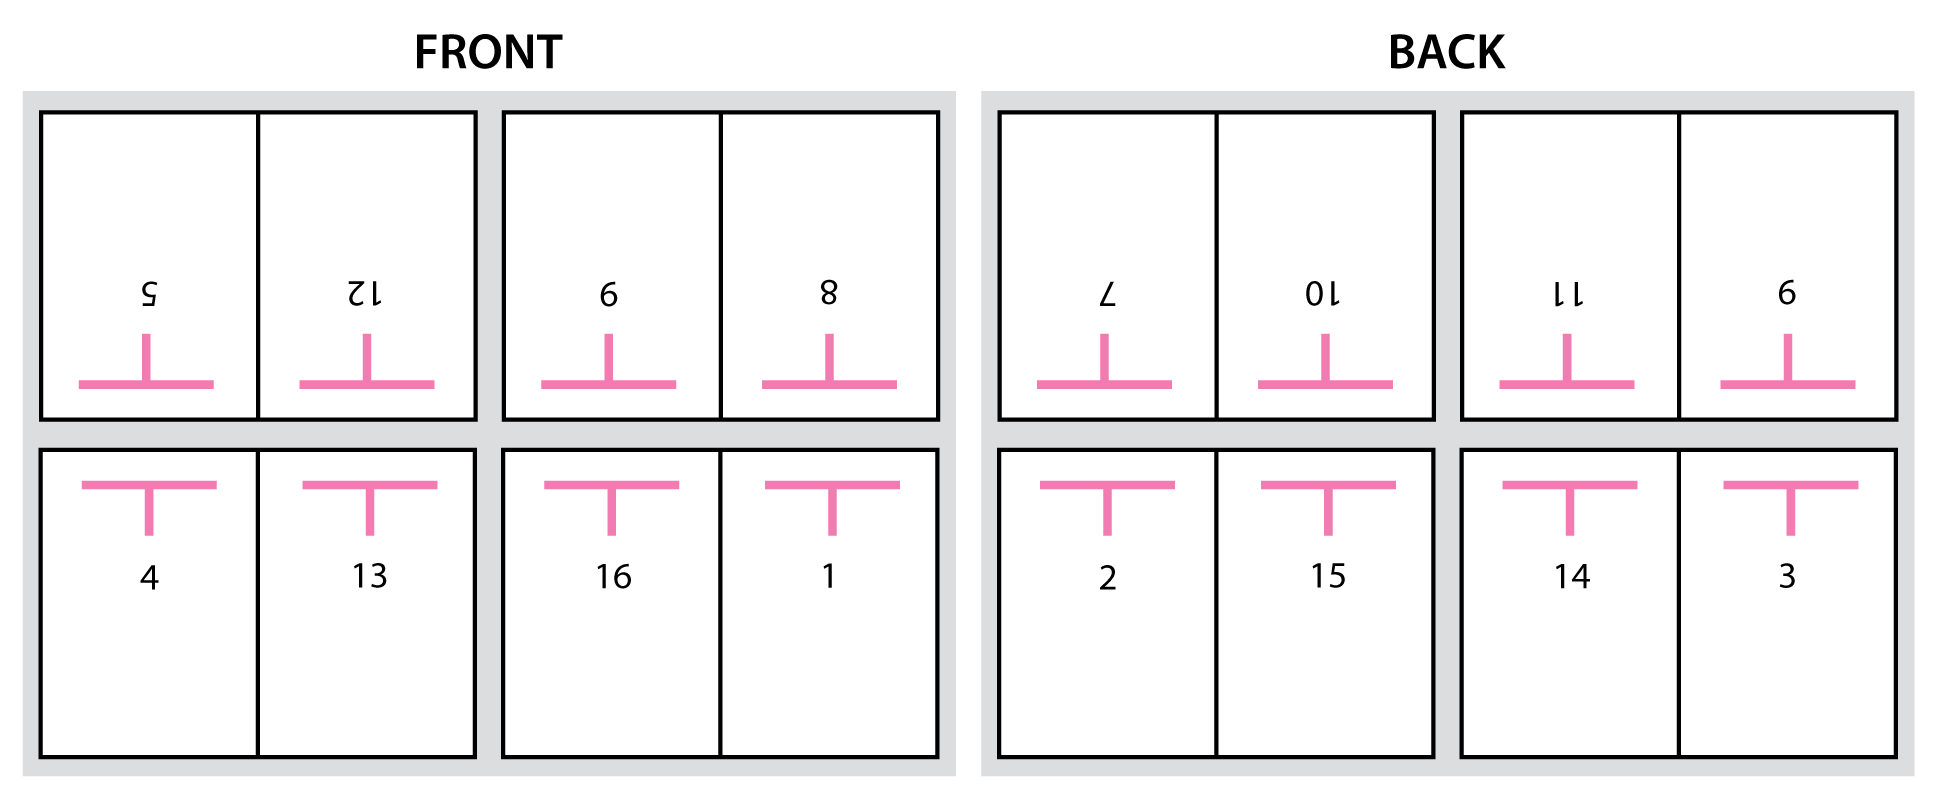
When the Printer of choice receives the final and complete file for print, the job is booked into their internal workflow system. A work ticket is created, and the file and work ticket is sent to the internal print Preflight and Prepping department to prepare for printing. The size of the page, number of pages, the finishing required as well as the printing press it will be printed on will also decide how the pages are imposed on the sheet. Preppers also allow for press and finishing tolerances. While prepping all elements for example, resolution, bleed etc are checked to ensure they are correct etc. The positioning of the pages or the job that they prepare for print on a predetermined sheet size, is called a ‘printer’s imposition’. Prepping is a specialized skill as they must allow for, and understand, the print and finishing processes as well as each piece of equipment the printed sheets will have to go through. Once the prepper has completed the printer’s imposition, they will send a digital or hard copy proof to the client. The hard copy is normally printed on a proofing device using an uncoated paper and water-based inks that simulate the CMYK colour space the press will print. Due to the ink and paper being very different to the actual paper and ink used on the press, this hard copy proof may only be around 80% accurate but still gives a very good visual idea of the finished product showing the sequence of pages, size and position of the artwork placed. These imposed sheets are what the Press minder will to check against the plates as he is setting up that section. Other Printers may use a digital press to print the hardcopy proof and they may also use the exact stock the final job will be printed on. Please remember that this proof is printed on another device and so the print may look different to the product on the Litho press. Also, this is printed as separate pages so the imposition done by the preppers in printers’ sections cannot be checked making it a vulnerable loophole. Going back to the imposed sheets – This imposed proof sheet may be folded multiple times in the case of a booklet or magazine with multiple pages so that the pages are in sequence when the final fold is complete. It is then trimmed to the final size and bound simulating the final product for the client to sign off. This digital or printed proof is checked by the client and signed off to proceed to print. In the above example the prepper has imposed a 16-page A4 booklet. 8 A4 pages on one side of the sheet of paper backing 8 A4 pages on the other. In this case the cover is part of the inside making it what we call a self-cover. It is clear to see that a skill is required to impose jobs correctly to achieve the client’s final desired result.
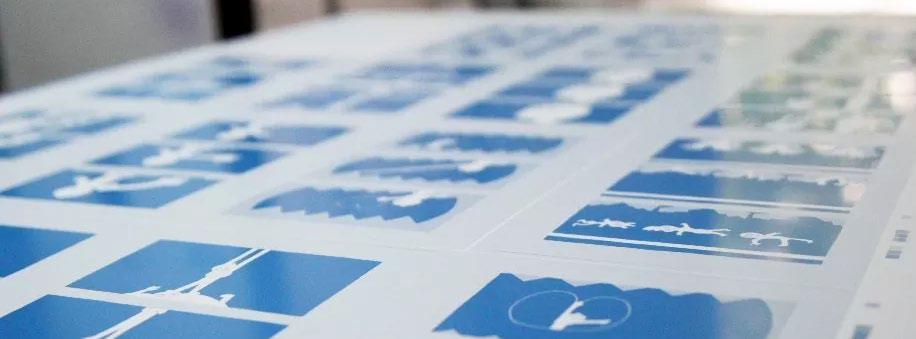
Making the Printing Plates
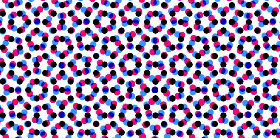
After the imposition and hard copy is made and approved, the prepper will send files down to the plate making department using a reputable colour workflow system,such as Heidelberg’s Prinect system. This will take each imposed sheet and separate them into 4 colours: CMYK, the colour space litho printers work in. It will also add a colour bar strip (a series of each CMYK colour in 100% and percentages) on the outside of the jobs crop marks so the press operator can check colour consistency throughout the run. They do this be means of a tool called a Spectrophotometer. In some cases, presses have these built in to help the press minder and make adjustments on the fly. These separated files are then exposed on a plate setter through lasers each colour separation onto its own coated aluminum plate. Each colours angle is set to a different degree (90° for yel, 75° for mag, 105° for cyan, and 45° for blk) to avoid a moiré pattern or clash of angles. These different angles when printed on top of each other form what is a ‘printers’ rosette’ which one can see using a loupe or magnifying glass. Each colour of CMYK with varying dot sizes, create the realistic photo images and colour we see when they are correctly printed on top of each other. When the plate is finished imaging and is then developed, the image area (blue coating) is the area that ink from the press will adhere to.
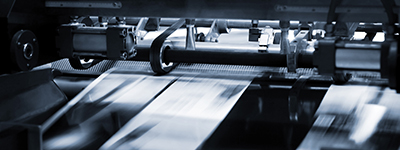
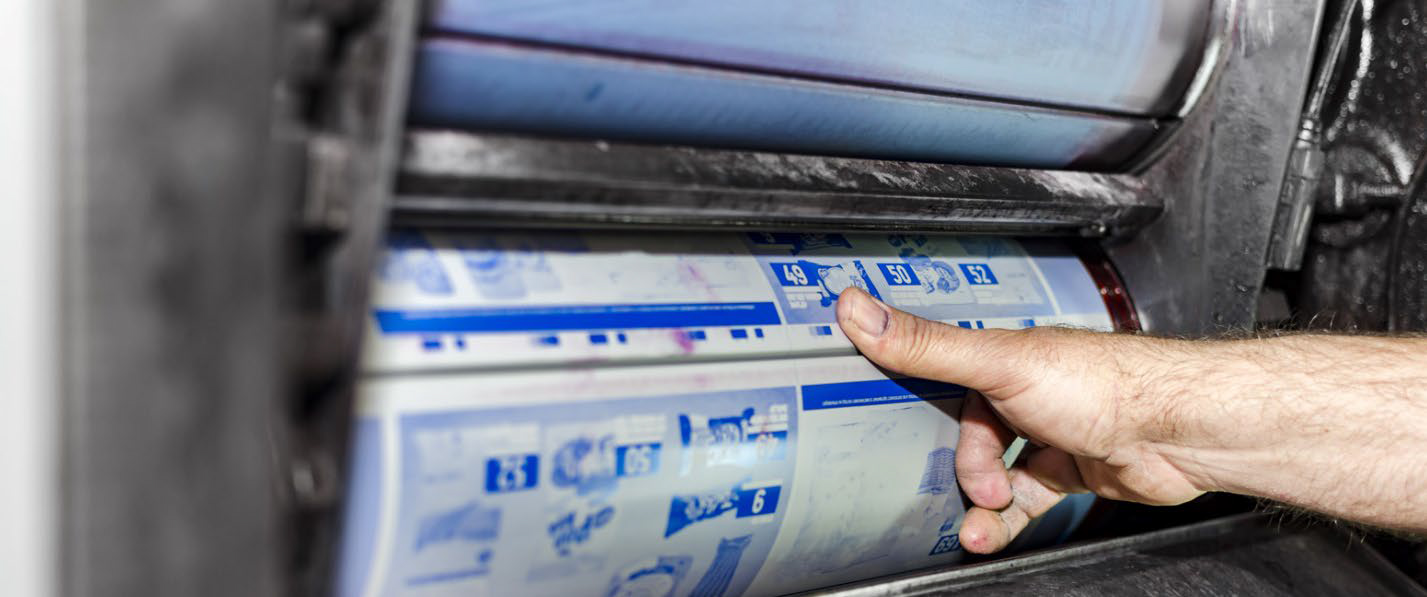
The Litho Printing Press
It all starts with the imaged print plate being mounted using plate clamps on the press. Each unit on the press accounts for one of the CMYK colours. One plate of each for each colour is mounted into its corresponding colour station or unit. Normally the CMYK printing process has Black in the first unit so it’s the first colour to hit the sheet, Cyan in the second, Magenta in the third and Yellow in the fourth unit. Each colour builds on the one just printed to create the final image we see. The basic principle is this:ink and water is applied to the press rollers, the image etched onto the plate transfers to an intermediary cylinder and then to the sheet (that is why it is called offset printing) where only the ink adheres to the imaged areas with the water from the rollers repelling the non-imaged areas from adhering to ink. As the sheet of paper passes through the press, each colour is transferred onto the sheet one after the other, in unrivalled precision to create the final perfect image on the sheet. The process of loading the paper at the back of the press, loading the plates in each unit and running the first few sheets of paper through is called a “make ready”. The aim is to get to ISO(International Organization for Standardization)Print Industry standard. The press operator uses a Spectrophotometer to check the colour bar and areas of the sheet for Densities or LAB values, so that once ISO is attained, the job can be run to this industry standard. Once the make ready is completed, the operator will run the job, pulling sheets to ensure colour consistency throughout the run.
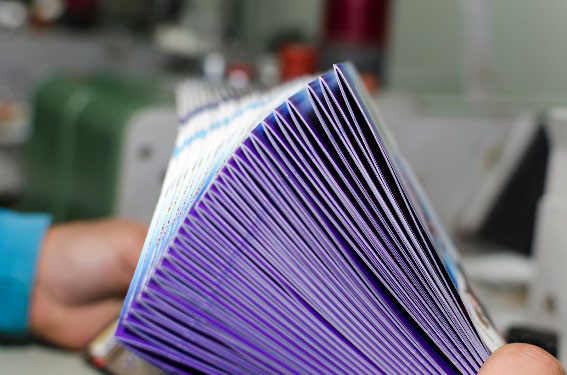
Litho Finishing
The pallets filled with the printed sheets coming off the press are taken into the Litho Finishing or Bindery department. Each pallet with its own section. The finishing depends entirely on the final product and finish needed. In Printing, the finishing is what adds value and completes the job after printing had been completed. Most common finishing is embossing, or debossing, laminating, spot or overall UV, die cutting, creasing, folding and foiling. The printed sheets from the press will either be trimmed to size for items such as posters or flyers or in the case of a saddle stitched brochure or magazine, they fold the imposed sections on a folding machine multiple times to get to the correct final size. These sections then go onto a gangline and one section is pulled on top of the other until the whole book is collated in the correct order. As it moves to the end of the gangline it is stapled on the spine and cut on 3 sides to complete the process. Products like folders are sent to the die cutting station to have the shape stamped out of the sheet and indentations made for the gusset and folds. It all depends on what needs to be done to the finished product as to where it goes next in the production line. Printing, as you can see, is both an Art and a Skill… So, if you are looking for quality printing,contact ustoday on011 848 0000.